
Setup
/
How do I set up my Wireless with the Sniper Watch firewall?
The following procedure will show you step by step how to modify your current wireless router to "Bridge Mode" and connect the ethernet cables to the proper ports on your modem, new Sniper Watch Cisco ASA, and your existing wireless router.
Wireless Configuration
1. Open a web browser and type, http://192.168.1.1 where "192.168.1.1" is the IP address of your current wireless router.
2. At the router Login Page, Enter your router password.
Click Sign In.

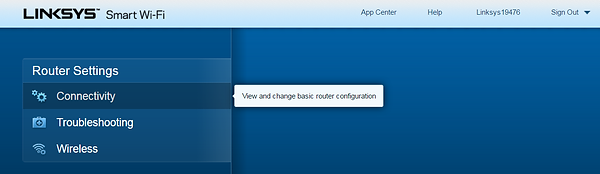
3. Select Router Settings/Connectivity.

4. Select Internet Settings/IPv4/Edit.
5. Under the Connection Type drop down list, select Bridge Mode.
Bridge Mode: Allows traffic to pass through your modem without translating from your private IP network to the public Internet address provided to you by your ISP. The Sniper Watch Protect ASA will handle all translation and security functions.
Ensure the Specify an IPv4 address radio button is selected.
Enter the following information that has been provided to you in your Sniper Watch package:
-
Internet IPv4 address
-
Subnet Mask
-
Default Gateway
-
DNS1
-
DNS2
-
DNS3

6. Click Ok.

7. Connect the ethernet cables.
A) Unplug the ethernet connection on your existing wireless router, and move it to the Sniper Watch Cisco ASA, Port 1.
B) Take the ethernet cable provided in the Sniper Watch box, connect one end to the Sniper Watch Cisco ASA, Port 8, and the other side into your wireless router, Port 1.

8. Success!!!
You've successfully completed Setup. Enjoy your new life on the Internet knowing that all of your devices are protected and secure.